
ezTip Safety Handles
Description
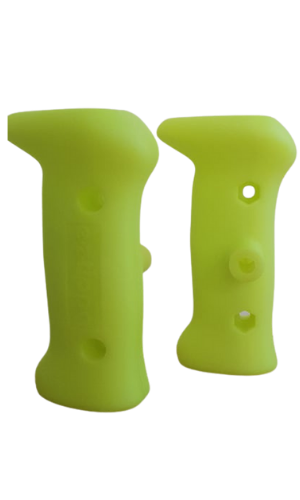
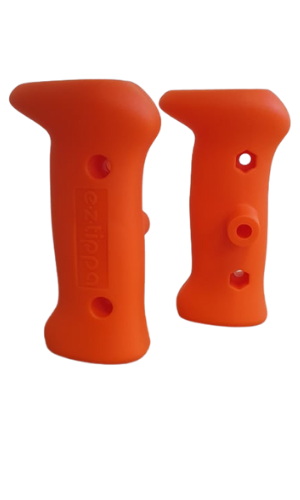
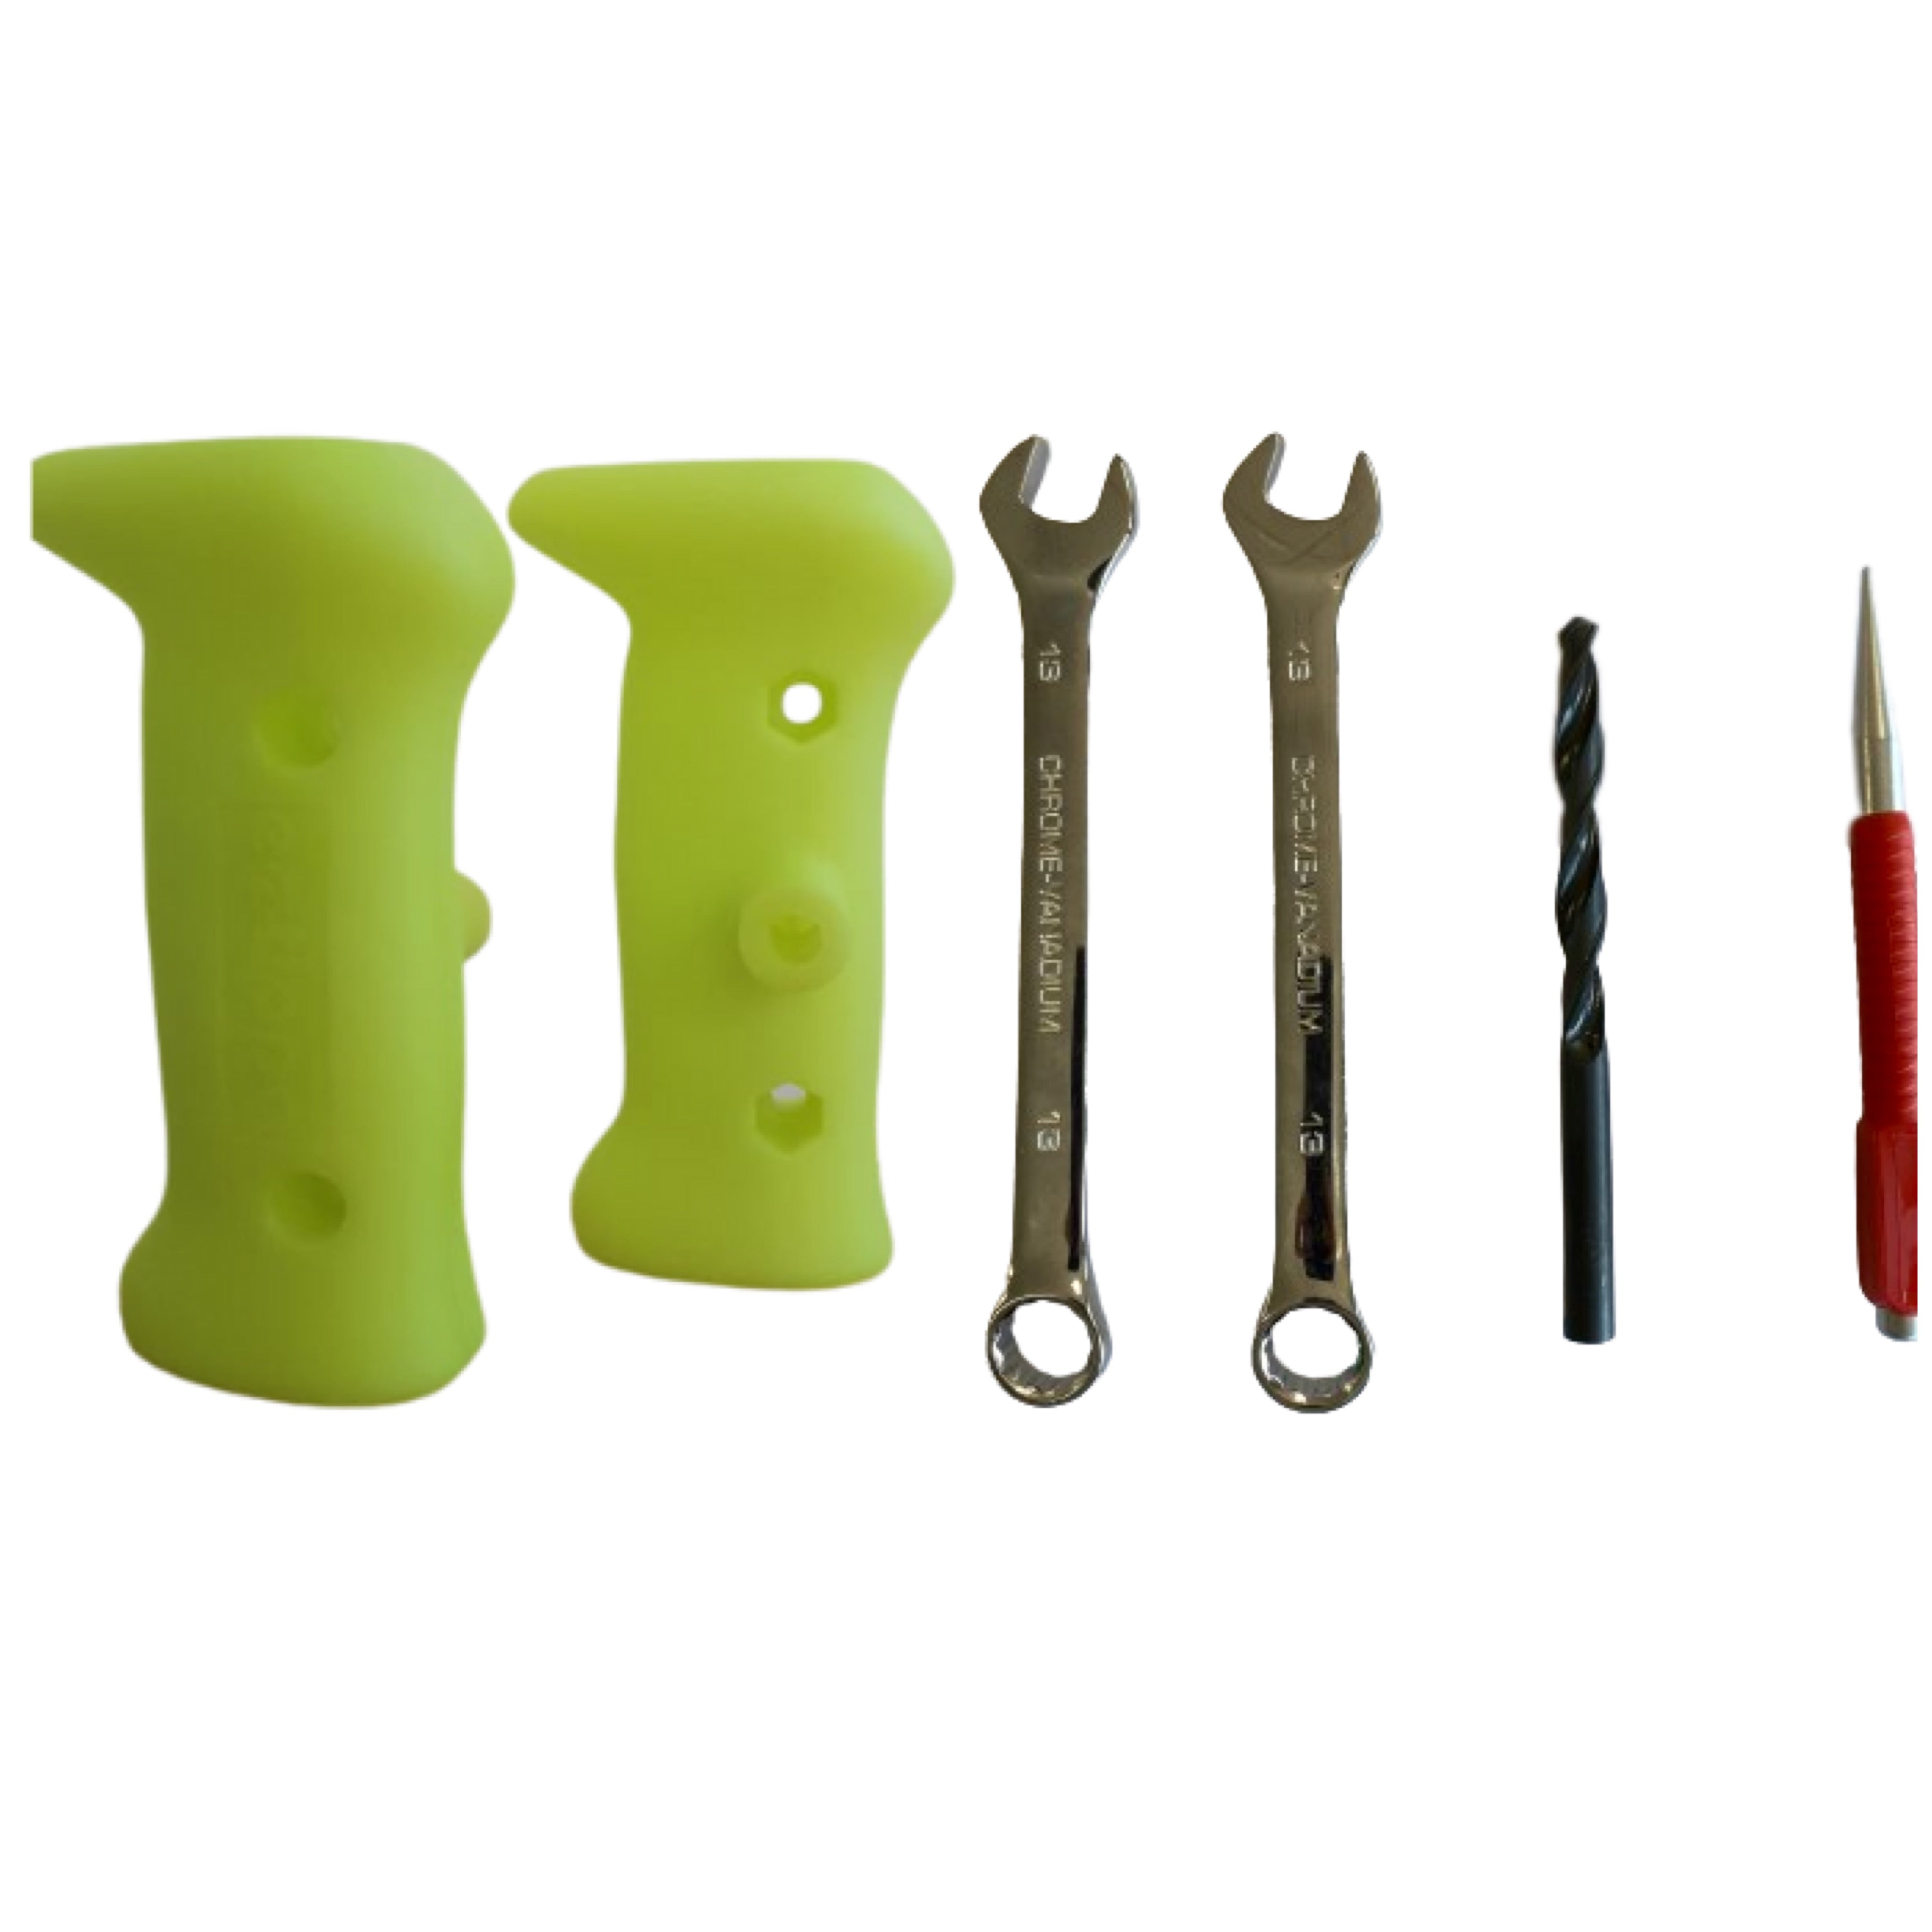
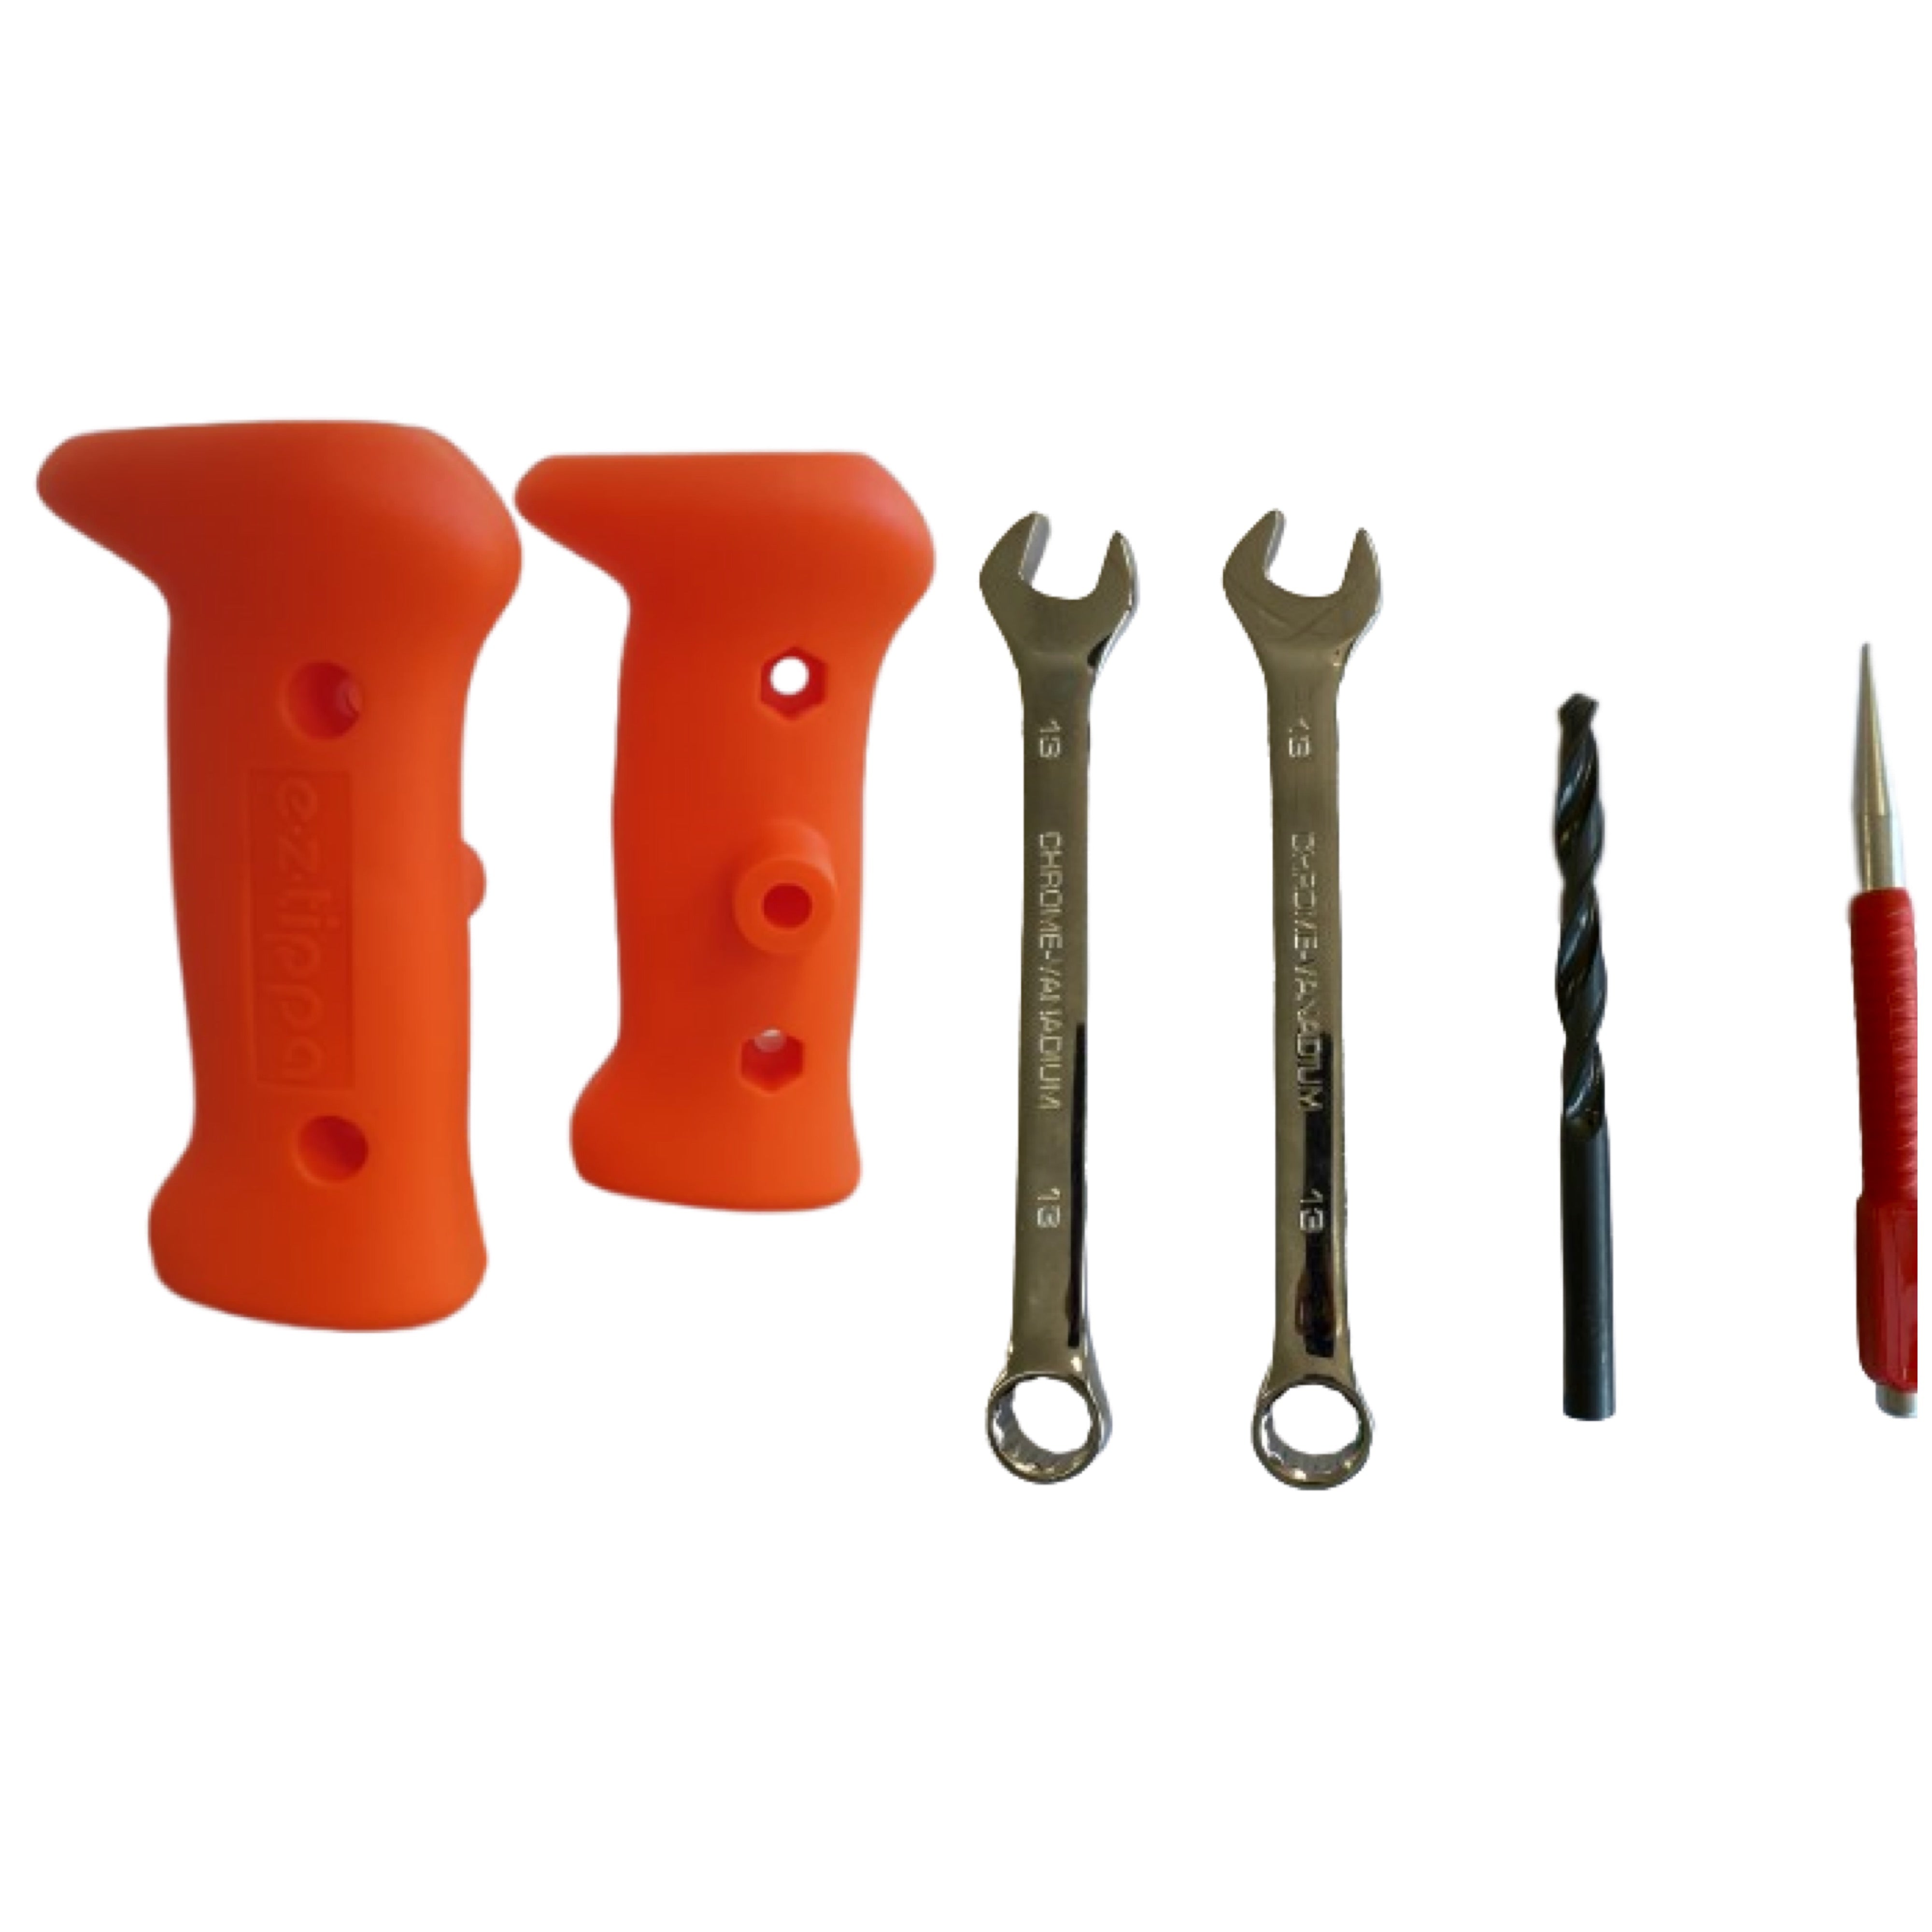
A set of revolutionary ezTip in high visibility orange and yellow.
(With or Without Fitting Kit)
For safety-aware scenarios high visibility ezTip can make a difference in stopping accidents.
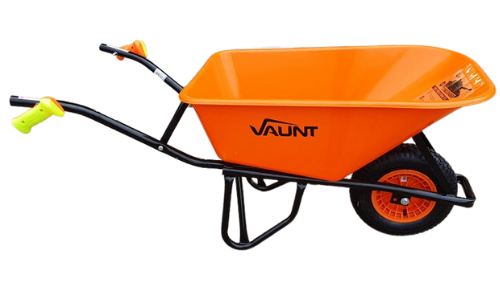
ezTip is ergonomically designed handles for devices such as sack trolleys, wheelbarrows and hand cleaners. They add safety and ease of use when manoeuvring and tipping. They can also be moved between devices.
By using ergonomics, ezTip rotates to add safety and ease of use when manoeuvring and tipping.
This pack contains a set of ezTip Handles with fixing bolts.
Reduce the number of days your colleagues are off from work with back problems both short and longer-term.
iTip Safety Handles or ezTip?
For situations where it is not possible to put a cleaning process in place, or there is a high chance of aggregates setting in the mechanism ezTip is the answer. They rotate on a bolt so have very little area for blockage.
If the advantage is the larger handle Safety Handles are the answer. Otherwise, both versions have the same safety and health advantages.
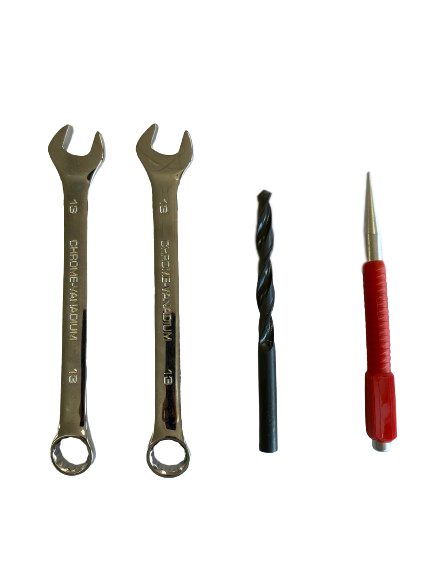
ezTip and 2Tip Fitting Kit (Also Sold Separately)To save you digging around we are offering a basic fitting kit at cost.
This comprises of a centre punch, an 8.5mm drill bit and 2 x 13mm spanners.
All you’ll need is the drill itself!
Delivery Information
Share some content to your customers about your products.
Returns Policy
Share some content to your customers about your products.
Happy Customers
Product Reviews
Mrs Briant
Office Manager, Wolverhampton
“Not being particularly tall I have never been able to operate a sack trolley. My work requires us to move stuff around so I'm often loading them up but have to ask another member of the team to actually move it. Not anymore! It made me feel included and was a great boost for myself esteem as well as mental health.”
Steven R. Page
Health& Safety Supervisor Chichester Contract Services
"The set we have were fitted to a sack truck we had for our bulky household crew. Feedback appears to have been good and I believe our grounds department are keen to try them out on their wheelbarrows."
Myra
Equestrian Stable Manager
Thanks to everyone at iTip for helping with my wheelbarrow solution. Arthiritic hands and wrists are not joke with horses and muddy fields."
Get started with ease
Installation
Mark from Veg Grower Podcast shows you how easy it is to fit iTip® Handles.
Download Installation InstructionsFirstly remove the existing handles.
Depending on the width of your wheelbarrow arms, slide the provided spacers on before the handles so they fit well.
Then take the iTip® Handles and slide over the wheelbarrow arm. Finally using an electronic screwdriver tighten the self-drilling screws...but not too much!
Repeat the process with the other handle and you are ready for action. Its good practice to check the grip of the new handles periodically.
Easy & Minimal
Maintenance
ITip require very little maintenance. Occasionally check the fixing screws are still tight. Apart from that from time to time and depending on where you’ve been using your equipment you may find a quick clean and application of either silicone spray or WD40 (or similar) to the faces of the D handle and the connector that slide past each other. This will ensure nice smooth operation for many years.
Download Maintenance Instructions